Stream via OBS
The purpose of this guide is to allow you to get a more in-depth look at setting up a livestream using Livepeer Studio with OBS.
About Streaming via OBS
OBS is the way that most users stream into Livepeer because it is easy to use and offers a high degree of customization.
Methods to Stream via OBS
- Livestreaming with a broadcasting software
Prepare the environment
- Download OBS
- Login or Sign up for a Livepeer Studio account
- Create a stream
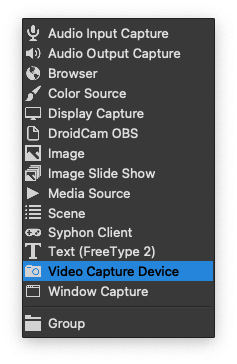
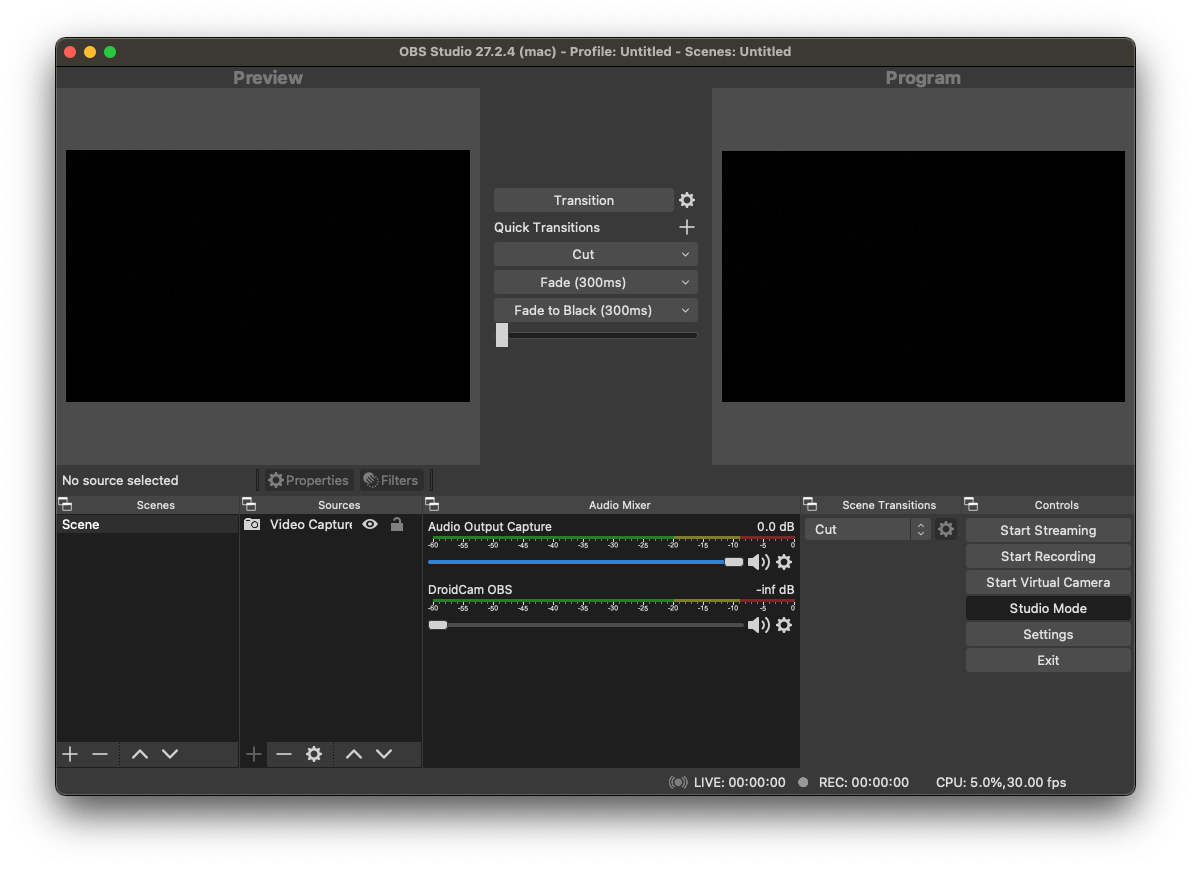
Open OBS and create a source
- Click the + icon under sources and select Video Capture Device if you’d like to stream using a camera or webcam. If you’d like to stream a browser window, select Window Capture.
- Give the device a name

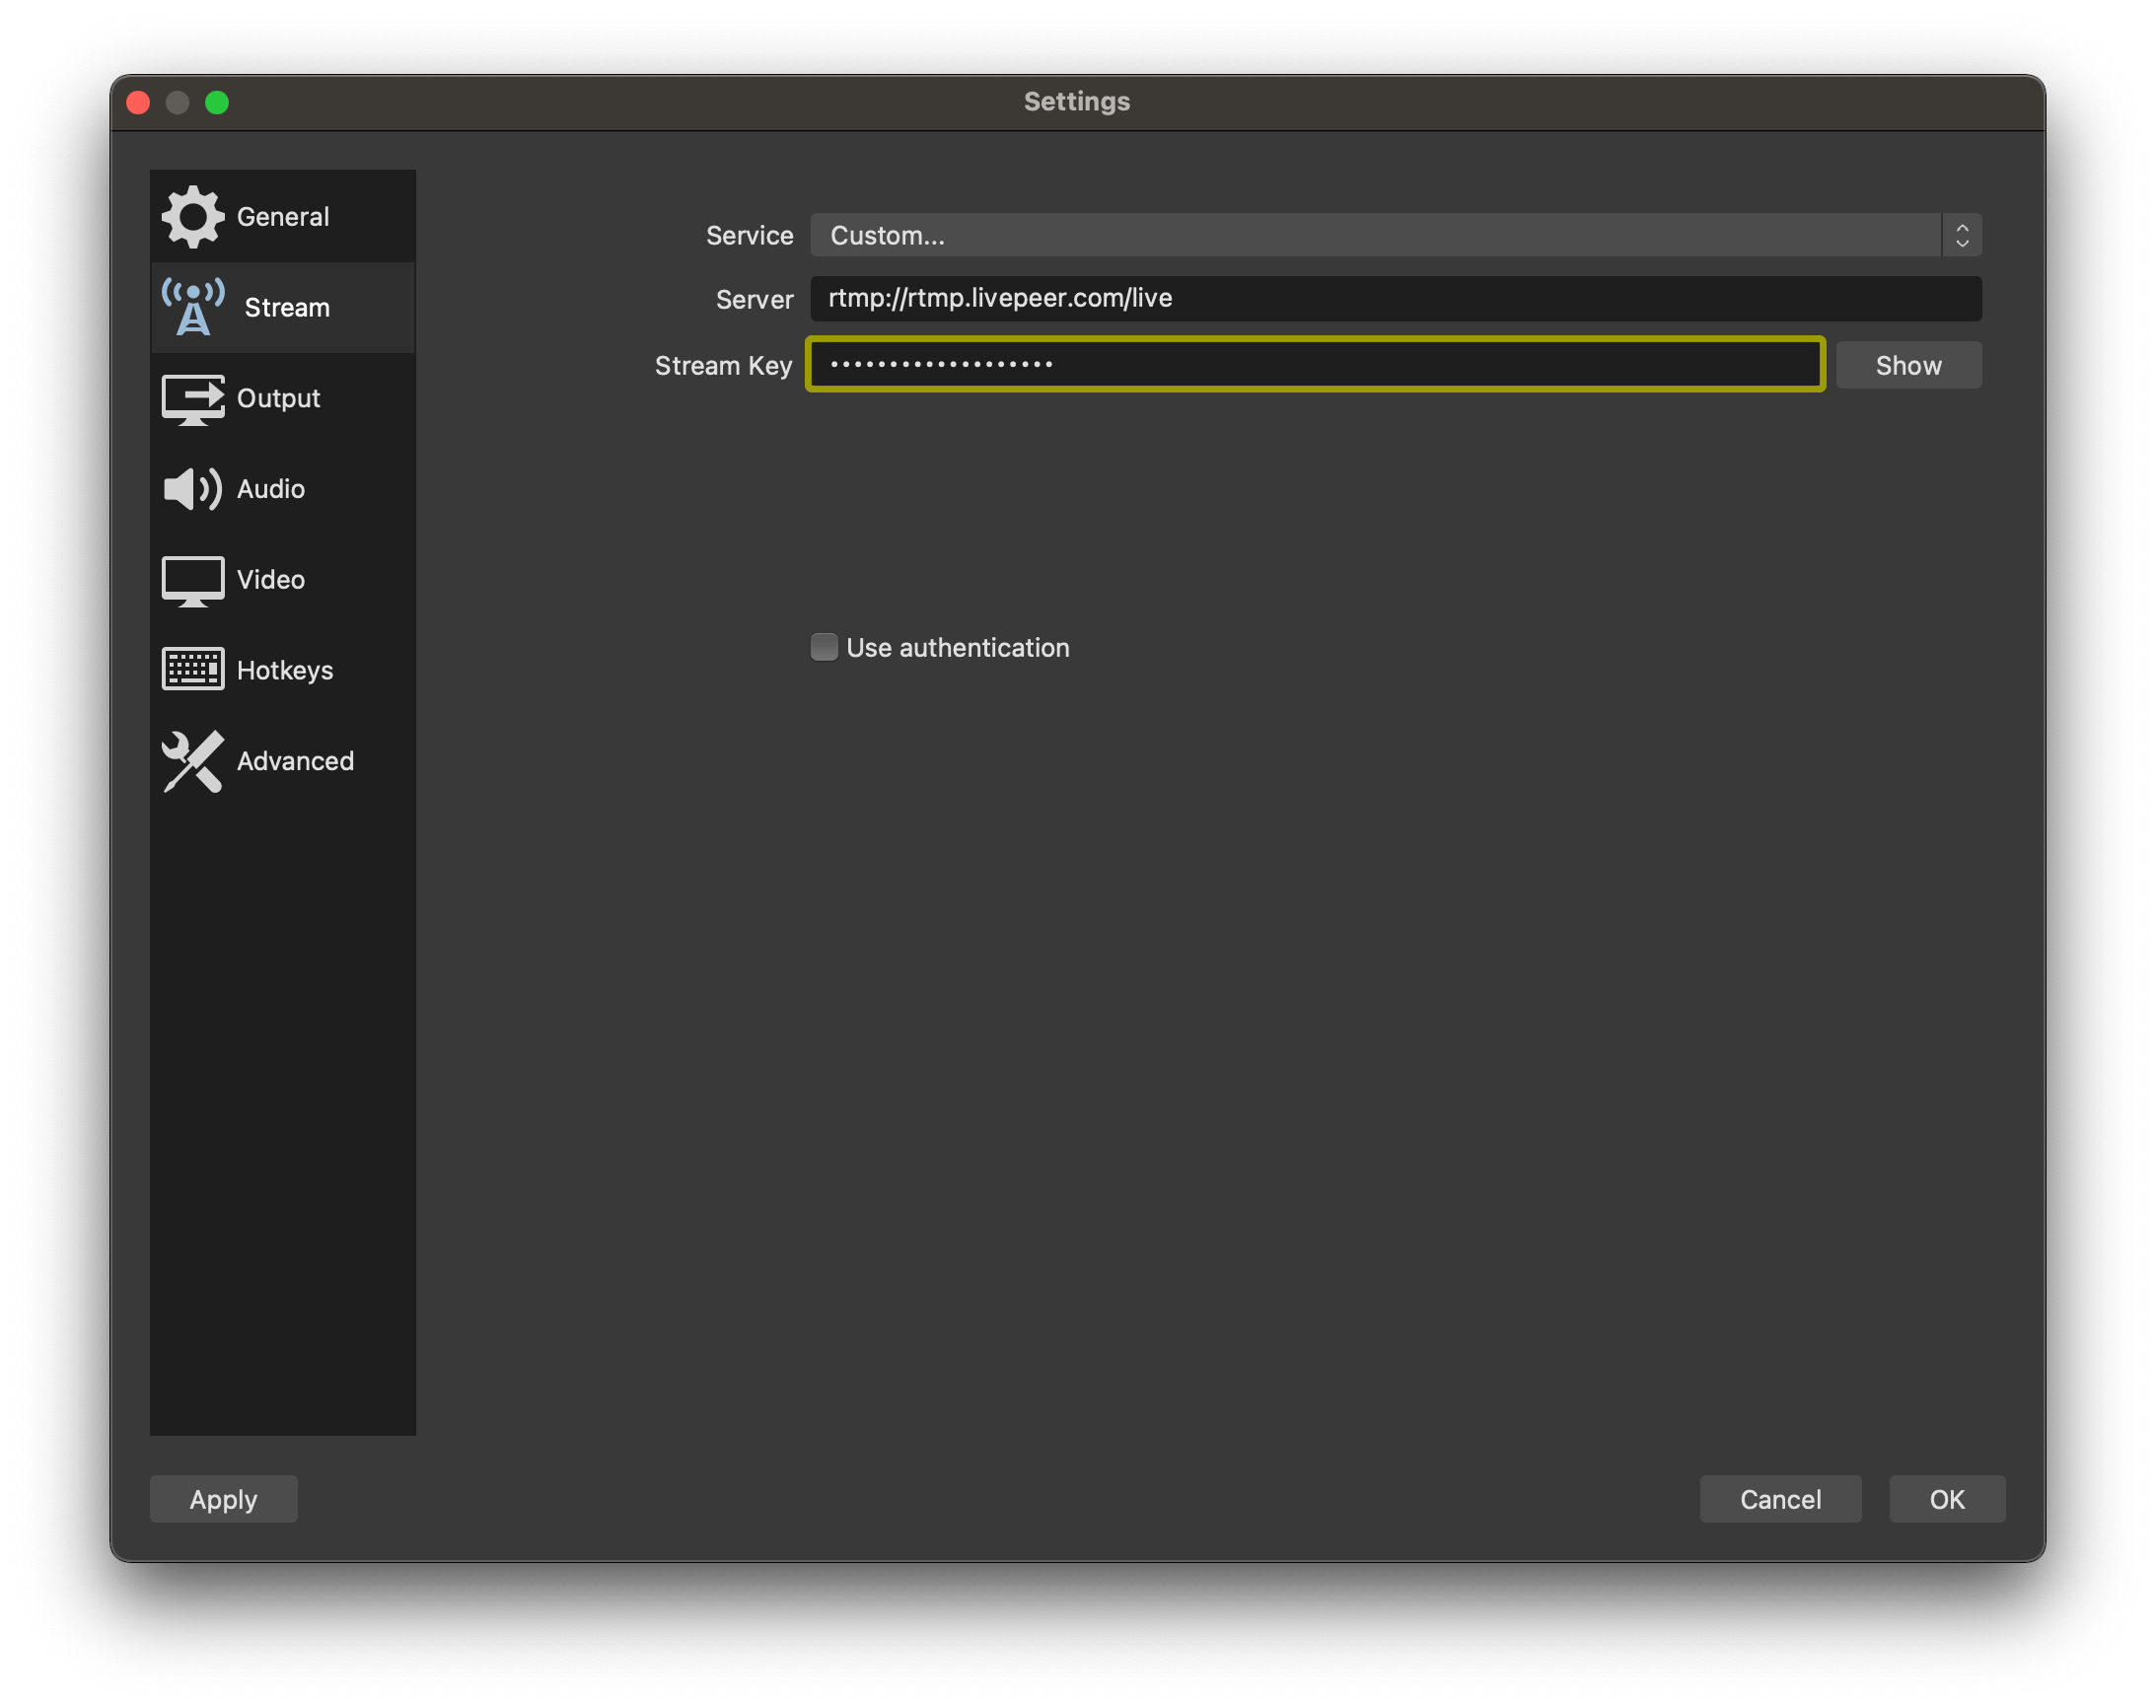
Input Your Stream Settings
- Select Stream settings
- Select custom for services
- Copy and paste the RTMP ingest URL and Stream Key and paste it into the “Server” and “Stream Key” fields.
RTMP ingest URLand Stream Key can be found on the dashboard on the Stream Detail page after creating a stream or in the API.
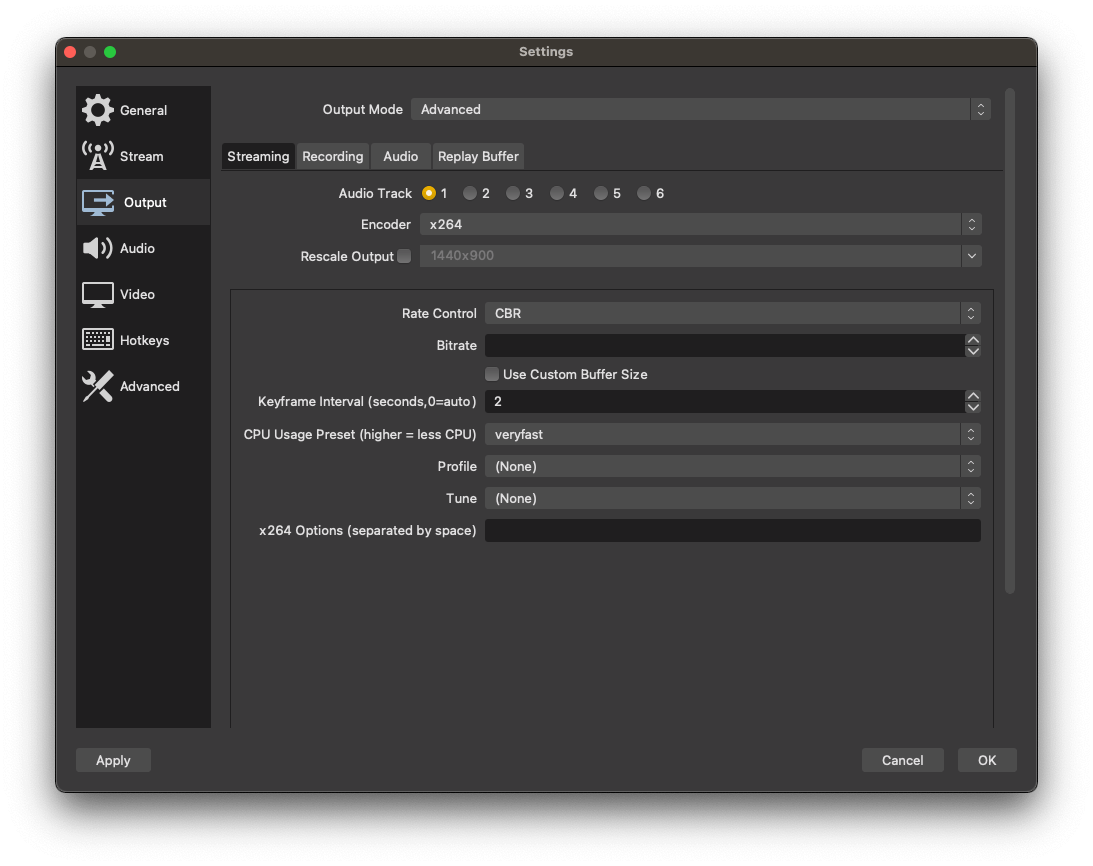
Select Output Settings and Streaming tab
- In the Output Mode select Advance
- Set the keyframe interval to 2 seconds
- Save your settings
Stream and Check Output
After saving your settings, OBS will return to the stream console.
- Press start streaming from the output you selected when inputting your stream settings above.
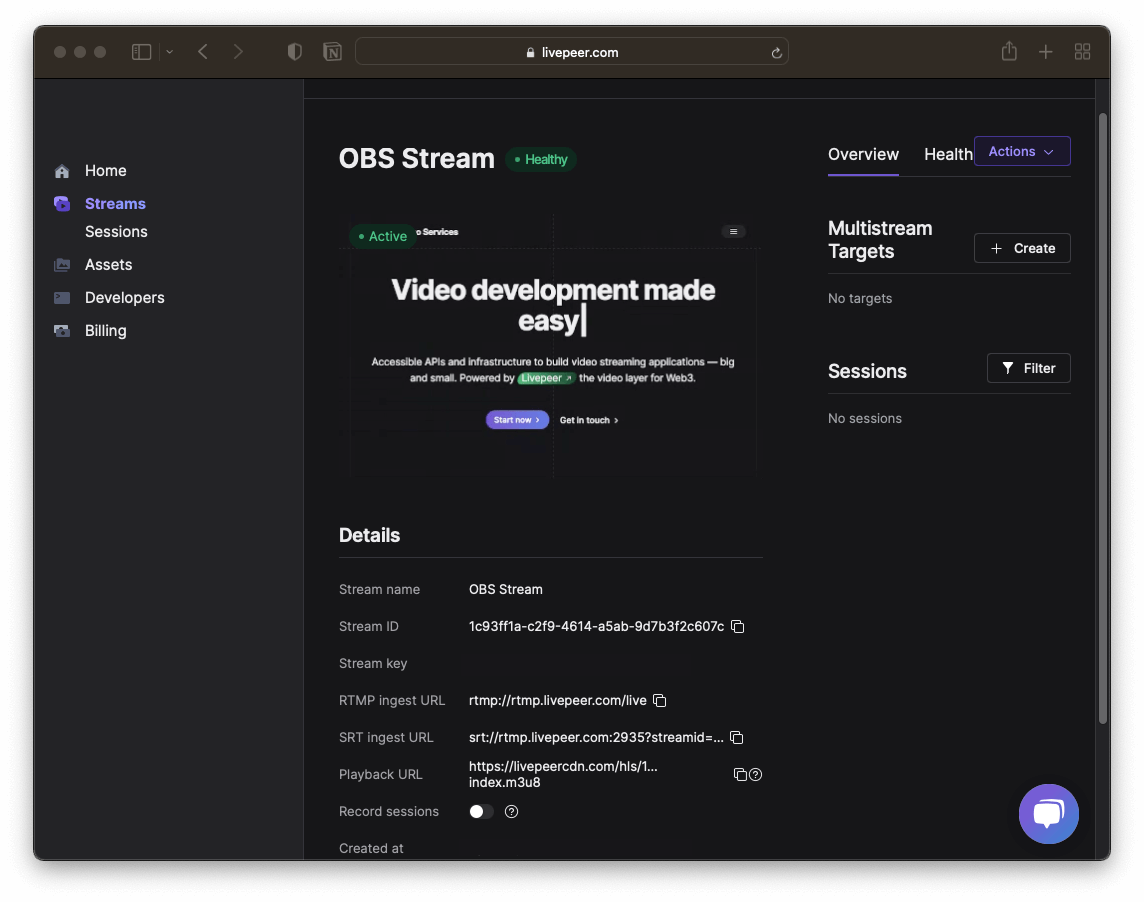
Navigate to the Livepeer Dashboard, login, and select the stream name that you are currently using. This should now be marked as “Active.”
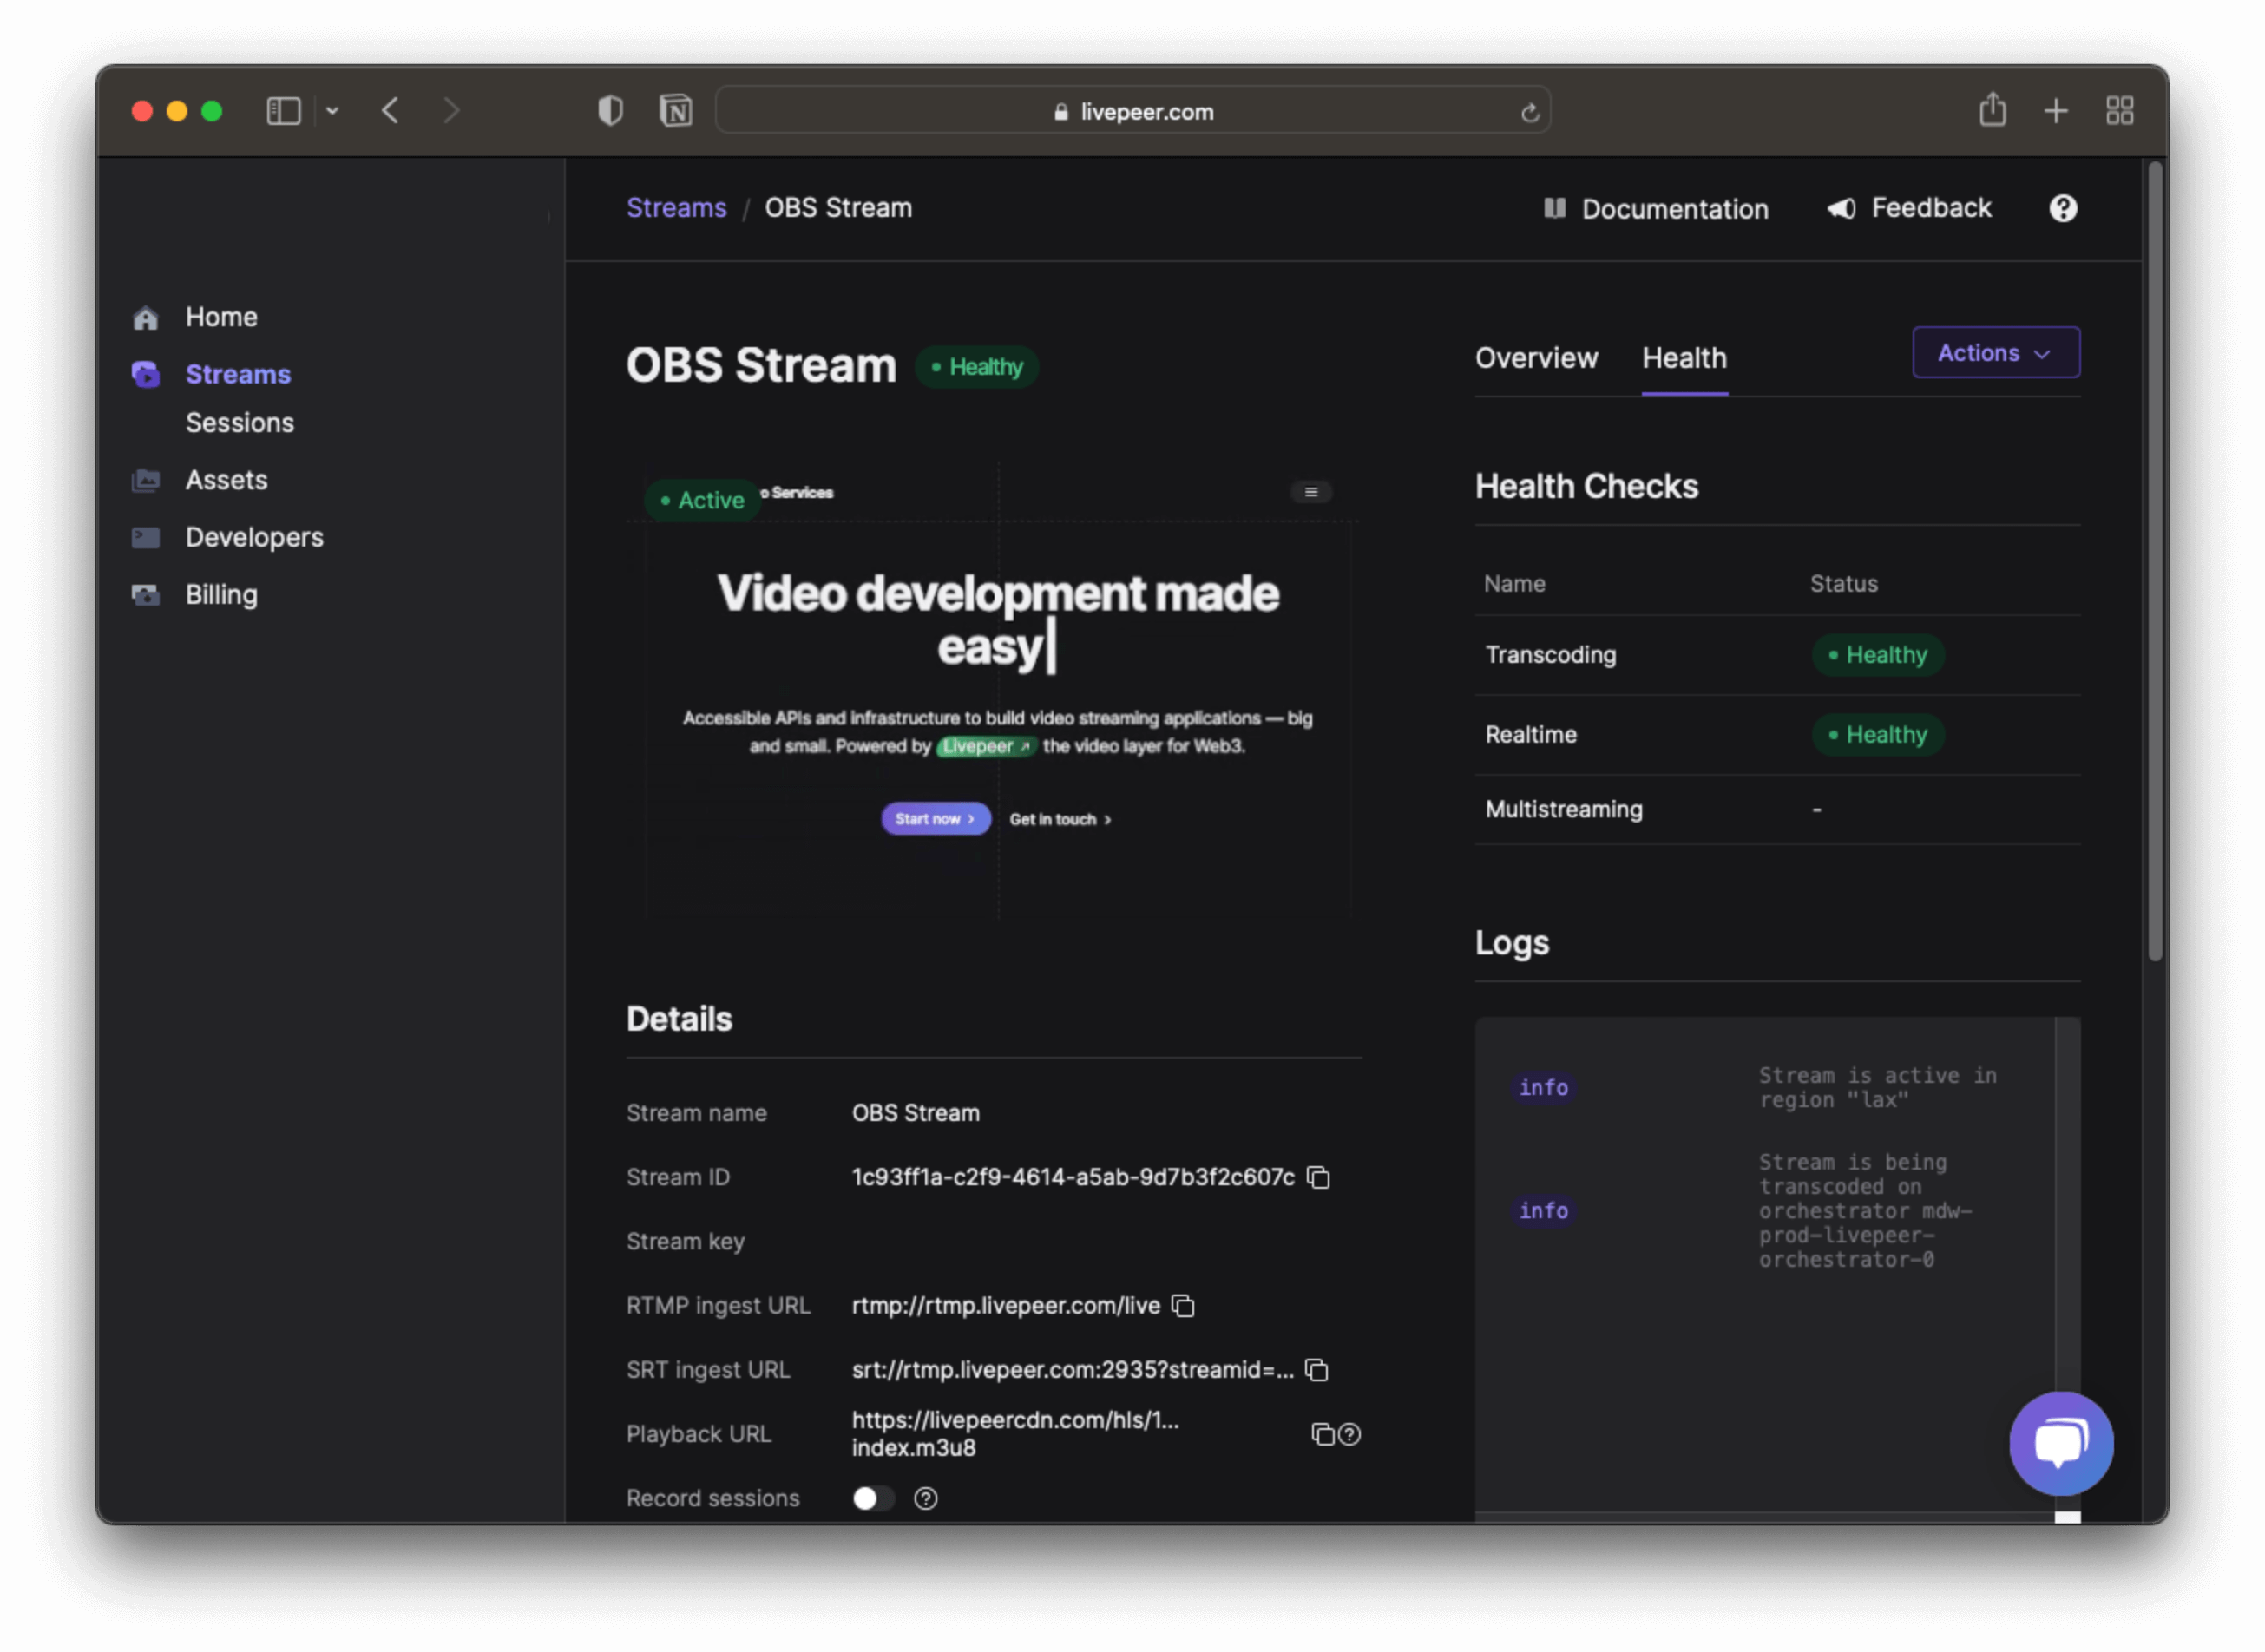
Under the Health tab, the video you are streaming in through OBS should be visible.
For Example:
Previewing a Stream in a Browser
There are several options to display the livestream in the browser and previewing a stream in your browser requires a video player.
For instructions and information about this, access the Playback guide.