Stream from the browser
The following includes instructions for using the Livepeer WebRTMP SDK, which allows you to stream into Livepeer using in-browser streaming.
What You Need To Know
- Familiarity HTML/CSS/JavaScript
- Familiarity with using SDKs
- Familiarity with using the terminal
Heads up! This SDK works best on Chrome Desktop, as it currently only supports WebSocket on H.264-capable browsers. We are working on WebRTC support to allow the use of non-Chrome and non-desktop browsers. Check out the npm package docs for more information.
Installation
- Follow the package instructions to install it in your project.
In this example, the CDN method will be used.
HTML
In the terminal:
- Set up a project directory
mkdir webrtmp-example && cd webrtmp-example
Create the files inside the directory:
- index.html
- index.css
- index.js
touch index.html index.css index.jsInside index.html:
- Create the HTML boilerplate (see below)
- Name the title: WebRTMP Example
- Add the WebRtMP CDN link
<script src="https://unpkg.com/@livepeer/webrtmp-sdk@0.2.3/dist/index.js"></script>Link to the following in the HTML file:
- index.css
<link rel="stylesheet" href="index.css" />- index.js
<script src="index.js"></script>Create a div for the video player and the button
<div id="root"></div>Add a video element to display what your computer camera is showing
<video id="video"></video><html lang="en">
<head>
<meta charset="utf-8" />
<link rel="icon" href="/favicon.ico" />
<meta name="viewport" content="width=device-width, initial-scale=1" />
<meta name="theme-color" content="#000000" />
<meta name="description" content="Web site" />
<title>WebRTMP Example</title>
<link rel="stylesheet" href="index.css">
</link>
</head>
<body>
<div id="root">
<video id="video"></video>
<button id="button">Start</button>
</div>
</body>
<script type="text/javascript" src="https://unpkg.com/@livepeer/webrtmp-sdk@0.2.3/dist/index.js"></script>
<script src="index.js"></script>
</html>
CSS
Let’s add some styling to the page
body {
  margin: 0;
  font-family: -apple-system, BlinkMacSystemFont, "Segoe UI", "Roboto",
    "Oxygen", "Ubuntu", "Cantarell", "Fira Sans", "Droid Sans",
    "Helvetica Neue", sans-serif;
  -webkit-font-smoothing: antialiased;
  -moz-osx-font-smoothing: grayscale;
  overscroll-behavior: none;
}

#root {
  text-align: center;
  background-color: #161618;
  min-height: 100vh;
  display: flex;
  flex-direction: column;
  align-items: center;
  justify-content: center;
  font-size: calc(10px + 2vmin);
  color: rgb(237, 237, 239);
}

#input {
  height: 42px;
  width: 300px;
  background: none;
  border: 1px solid rgb(158, 140, 252);
  margin: 6px;
  color: rgb(237, 237, 239);
  font-size: 21px;
  text-align: center;
  border-radius: 3px;
}

#video {
  height: 300px;
  width: 400px;
  border: 1px solid rgb(158, 140, 252);
  margin: 30px;
  background-color: black;
  border-radius: 3px;
}

#button {
  height: 42px;
  width: 60px;
  font-size: large;
  border-radius: 3px;
  border: 1px solid rgb(158, 140, 252);
  color: rgb(237, 237, 239);
  background: none;
  cursor: pointer;
}
JavaScript
Let's add some interactivity to our page
Go to the index.js file
Grab the video and button elements to interact with them:
const video = document.getElementById("video");
const button = document.getElementById("button");
Mute the player so it doesn’t loop back your microphone:
video.volume = 0;Access the webRTMP library Client to be used for streaming
const { Client } = webRTMP;So far the index.js should look like the following
const video = document.getElementById("video");
const button = document.getElementById("button");
video.volume = 0;
const { Client } = webRTMP;
Next we will create a function to look for an audio and video device when the web browser is opened
Create an async function called setup to get the device webcam feed (user media) as a stream:
let stream;
async function setup() {
  stream = await navigator.mediaDevices.getUserMedia({
    video: true,
    audio: true
});
Then assign the stream variable to the srcObject of the video object
video.srcObject = stream;Invoke the play function of the video object and close this function
    video.play();
    }
Outside of the setup function, invoke it
setup();
The code should look like the following
```javascript
const video = document.getElementById("video");
const button = document.getElementById("button");
video.volume = 0;
const { Client } = webRTMP;

let stream;
  async function setup() {
    stream = await navigator.mediaDevices.getUserMedia({
    video: true,
    audio: true
  });

  video.play();
  video.srcObject = stream;
}

setup();
```
Now we will setup the button to start live streaming start live streaming
Assign the button element an
onclickhandlerbutton.onclick = () => {Create a variable called
streamKeyand initialize it with our stream key from Livepeer Studio
const streamKey = { LIVEPEER_STREAM_KEY };
- Then let’s notify if the webcam feed was not initialized
if (!stream) {
  alert("Video stream not initialized yet.");
}
Now create a new webRTMP client:
const client = new Client();Start a webRTMP session from the initialized webcam feed to your provided stream
const session = client.cast(stream, streamKey);Now let’s create some feedback in the app for when the stream actually starts.
Alert the stream has started when the
openevent is emitted in the sessionsession.on("open", () => {
console.log("Stream started.");
alert("Stream started; visit Livepeer Dashboard.");
});Alert when the stream has ended when the
closeevent is emittedsession.on("close", () => {
console.log("Stream stopped.");
});Alert errors from the
erroreventsession.on("error", () => {
console.log("Stream error.", err.message);
});
The final index.js file should look like this:
const video = document.getElementById("video");
const button = document.getElementById("button");
video.volume = 0;
const { Client } = webRTMP;
let stream;
async function setup() {
stream = await navigator.mediaDevices.getUserMedia({
video: true,
audio: true,
});
video.srcObject = stream;
video.play();
}
setup();
button.onclick = () => {
const streamKey = { LIVEPEER_STREAM_KEY };
if (!stream) {
alert("Video stream not initialized yet.");
}
if (!streamKey) {
alert("Invalid streamKey.");
return;
}
const client = new Client();
const session = client.cast(stream, streamKey);
session.on("close", () => {
  console.log("Stream stopped.");
});
session.on("error", (err) => {
console.log("Stream error.", err.message);
});
};
The final step is to run this and see the results:
npx http-server ./
Visit http://127.0.01:8080/ in your browser to see the app
- Keep in mind that it might start the server in a different port. Check the output of the above command if it doesn’t work
Example:
Available on:
http://127.0.0.1:8080
http://192.168.5.116:8080
Hit CTRL-C to stop the server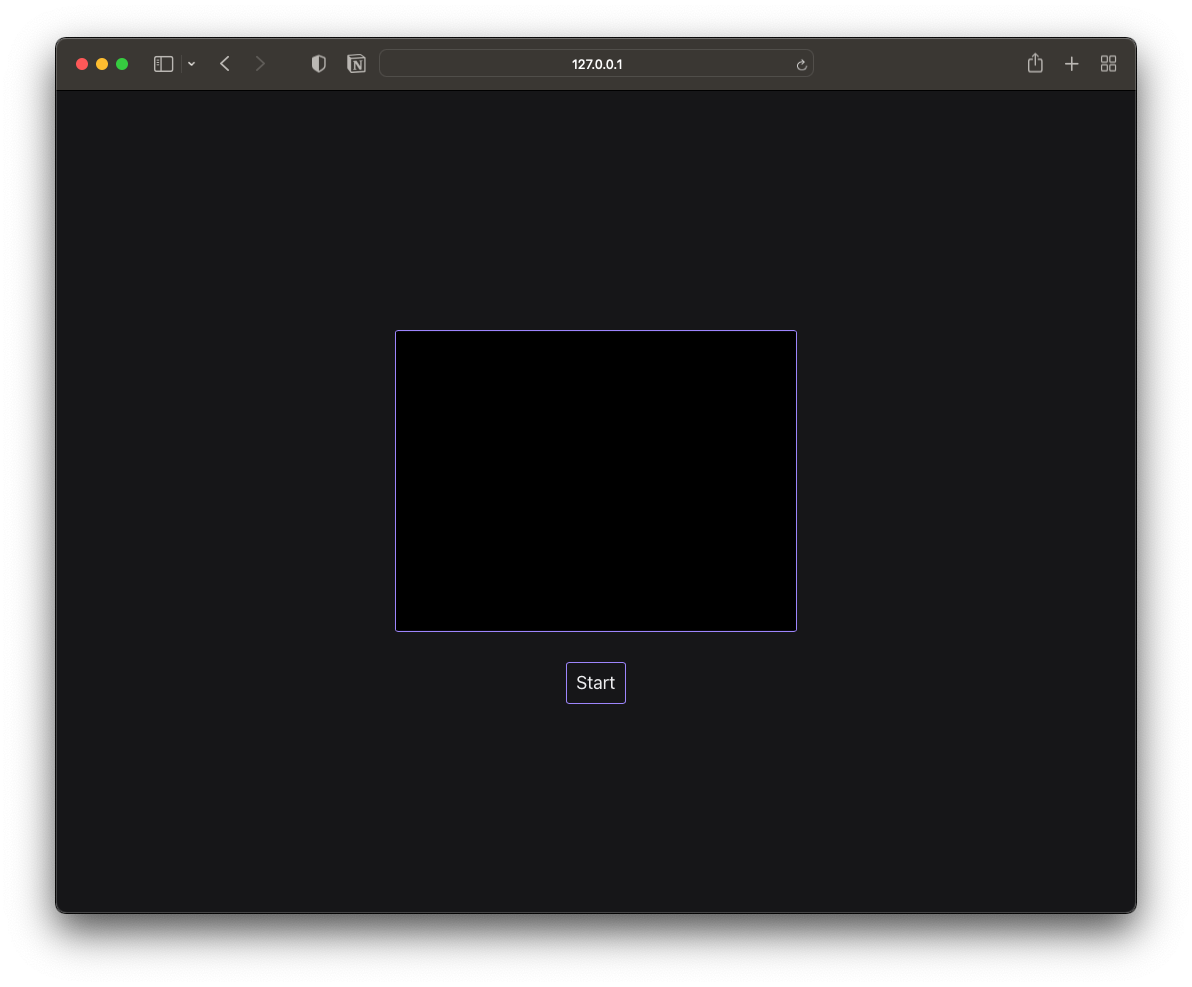
Now that you have in-browser streaming set up, you only need a player so viewers can tune into your live streams. Check out our docs on how to embed a video player.